There are three ways to add a new contact.
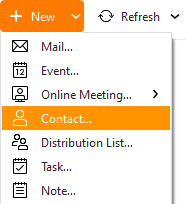
The first is to click on the arrow button New and select Contact...
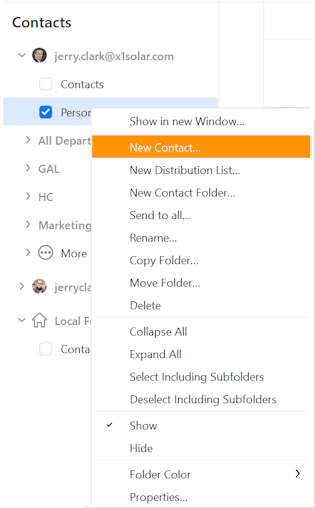
And the second way is to right-click on the Contacts panel, then select New Contact.
The third is to click on the top line in one of the List views (the line is separated by thick line, see screen shot bellow), fill in required fields and press enter. This feature is available in any list view, for example in Tasks and Agenda.

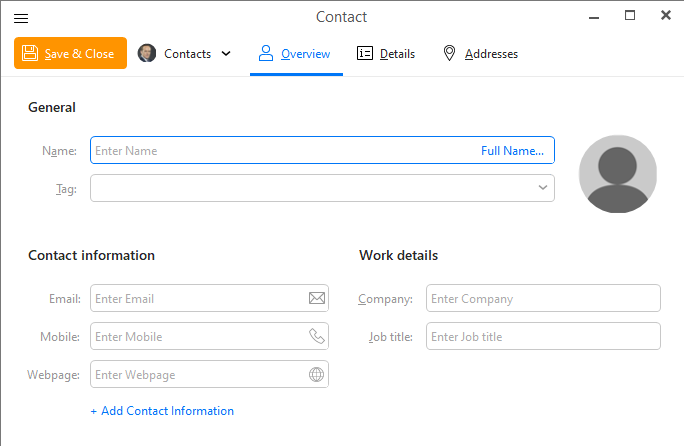
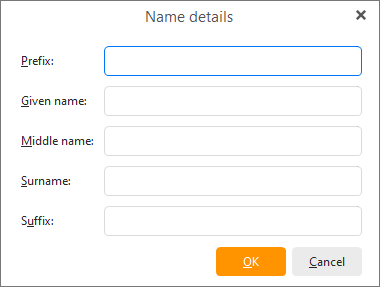
You can set full name of the contact by clicking on the button Full Name...This window will show:
You can fill the boxes with information about your contact.
Enter the name of the company this contact works for.
Assign particular tag to your contact.
Enter the contact's job position E.g. Financial Consultant.
Enter a name you wish the contact to be shown in your contact list, doesn't necessarily have to be his or her full name. For example feel free to file your new contact under his nickname.
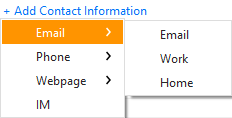
You can enter up to three different email addresses for the contact by clicking on the Add Email button (the cross sign)
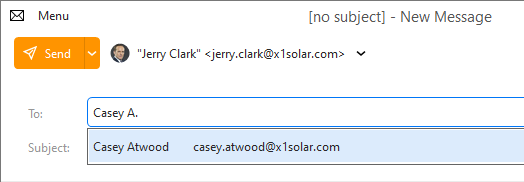
you can bring up Display as option via right-click on the email field and clicking "Show Display As".
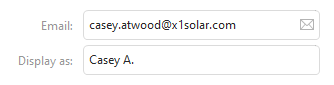
The display name for the contact's email addresses can provide a way to identify the Email in case the email address does not contain any distinguishing identifiers or your personal preferences.
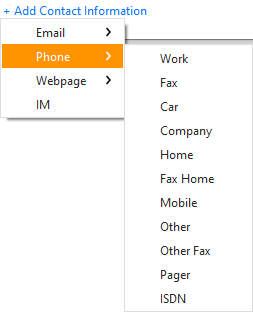
Many types of phone numbers can be filled. You can for example add phone numbers for Work, Home, Fax, Mobile but also select among many other types.
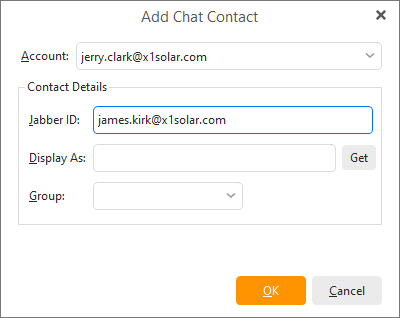
You can add several types of Chat to the contact: jabber, ICQ etc. Click on the button Add Chat to bring up following window:
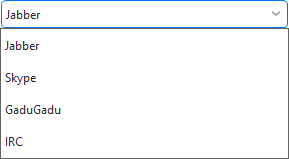
click on the down-pointing arrow in the Chat service to bring up following roll-down menu which displays full list of available Chats to add contact to:
If a contact has a personal web site, you can enter it here by clicking on the Add Webpage button (Cross sign).
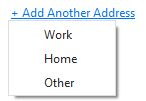
You can change the type of address by clicking on the Add Address button and selecting from custom fields provided:
Like with Events and Tasks, you can attach files to your Contact profiles.

Click on Browse files... to add any files relevant to this contact. Any image, power point, document files that are related to the person or his work can be added here.
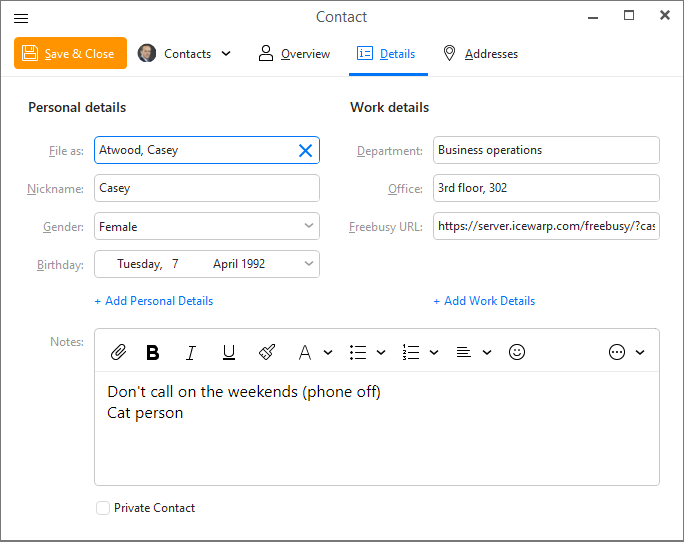
The details tab is where you can store all the professional and personal details about the particular contact.
Most of the fields in the General tab of contact are straightforward (full name, company, tag etc.) However, note the option at the very bottom, where you can easily change the folder for a particular contact. If you do so, the contact will be automatically moved to the desired folder. This utility works also for editing Tasks and Contacts.
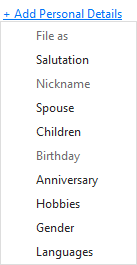
Also note that the fields present in the picture (File as, Nickname, Birthday etc.) are the default ones and you can easily customize the Contact Details tab by adding more of them. Simply click on Add Personal Details to bring up following window:
or on Add Business Details to bring up following window:
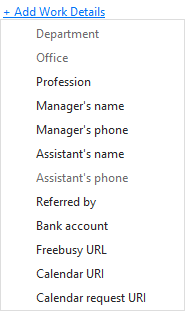
Most of the additional fields are self-explanatory, however following tags are worth mentioning:
Freebusy URL: Part of calendar service. Can contain the contact's daily schedules, helpful when arranging events with this contact.
Calendar URI & Calendar Request URI: These are web locations to which calendar requests are sent. This is handled automatically, only in rare cases need to be filled in manually.